
We've all done it. You know, leave our earrings on the nightstand, necklaces on the kitchen counter, and bracelets in the bathroom. I've even kept jewelry on top of my jewelry box- whoops! If this sounds like you and you're not a fan of clutter (or losing earrings), this marble jewelry tray DIY is the perfect solution. Every girl needs a pretty little place to put her baubles and this inexpensive project accomplishes just that!


WHAT YOU WILL NEED:
1. 12x12 marble tile ( I purchased mine from Lowe's for less than $5). If you're as obsessed with marble as I am, check out this Faux Marble Countertop post!
2. 3" Copper foil tape. Or you could just use copper spray paint!
3. 2 pieces of 3/4" x 36" poplar square wood. I purchased these at Lowe's, but they are also available on Amazon.com. I cut my pieces at home, but you could get them cut at Lowe's or Home Depot if you don't have a saw!
4. E6000 adhesive.
5. Sand paper.
DIRECTIONS:
1. Cut the square wood pieces- you will need (2) 12" pieces and (2) 13.5" pieces. I highly suggest getting this done at Lowe's or Home Depot so you don't have to worry cutting super straight lines at home (or on your apartment balcony which may or may not be allowed- #wink)! Make sure you sand the ends after they are cut.
2. Measure and cut the copper foil tape to cover the 12" square wood pieces. The tape should measure approximately 13" so that the ends can be covered as well.
3. Measure and cut (2) 1" x 1" squares of foil tape to cover the ends of the 13.5" pieces and (2) 13.5" pieces of copper foil tape for the longer square wood pieces.
4. On the 13.5" square wood pieces, adhere the 1" square piece of foil tape to the ends.
5. Very carefully pull back the tape backer and fold it. Align the foil tape to the center of the wooden piece and make sure it is parallel with the edge. For the 13.5" pieces, it is very important to align them perfectly with both ends so that they look nicely finished!
6. Press the foil tape down firmly, making sure there are no wrinkles.
7. Flip the wooden square piece over and pull back another inch or so of the backer so that you have enough foil tape to cover the second side.

8. Repeat step 7 until the foil tape is adhered to all four sides of the square wood.
9. For the 12" square wood pieces, carefully fold the ends as you would a present so that they are nicely finished.
10. After you are done covering all 4 pieces of square wood, you are ready to glue them to the marble tile.
11. Make sure the marble tile is clean and dry. Next, glue the (2) 12" pieces on the right and left sides. It is very important you follow the instructions on the glue tube so that the foil tape covered wooden pieces will stay on.
12. After the 12" pieces have been glued on and you have waited for the glue to set up, you can glue the last two pieces.
13. To make sure your pieces don't move while drying, use a weight or something heavy to secure the jewelry tray against another flat surface.
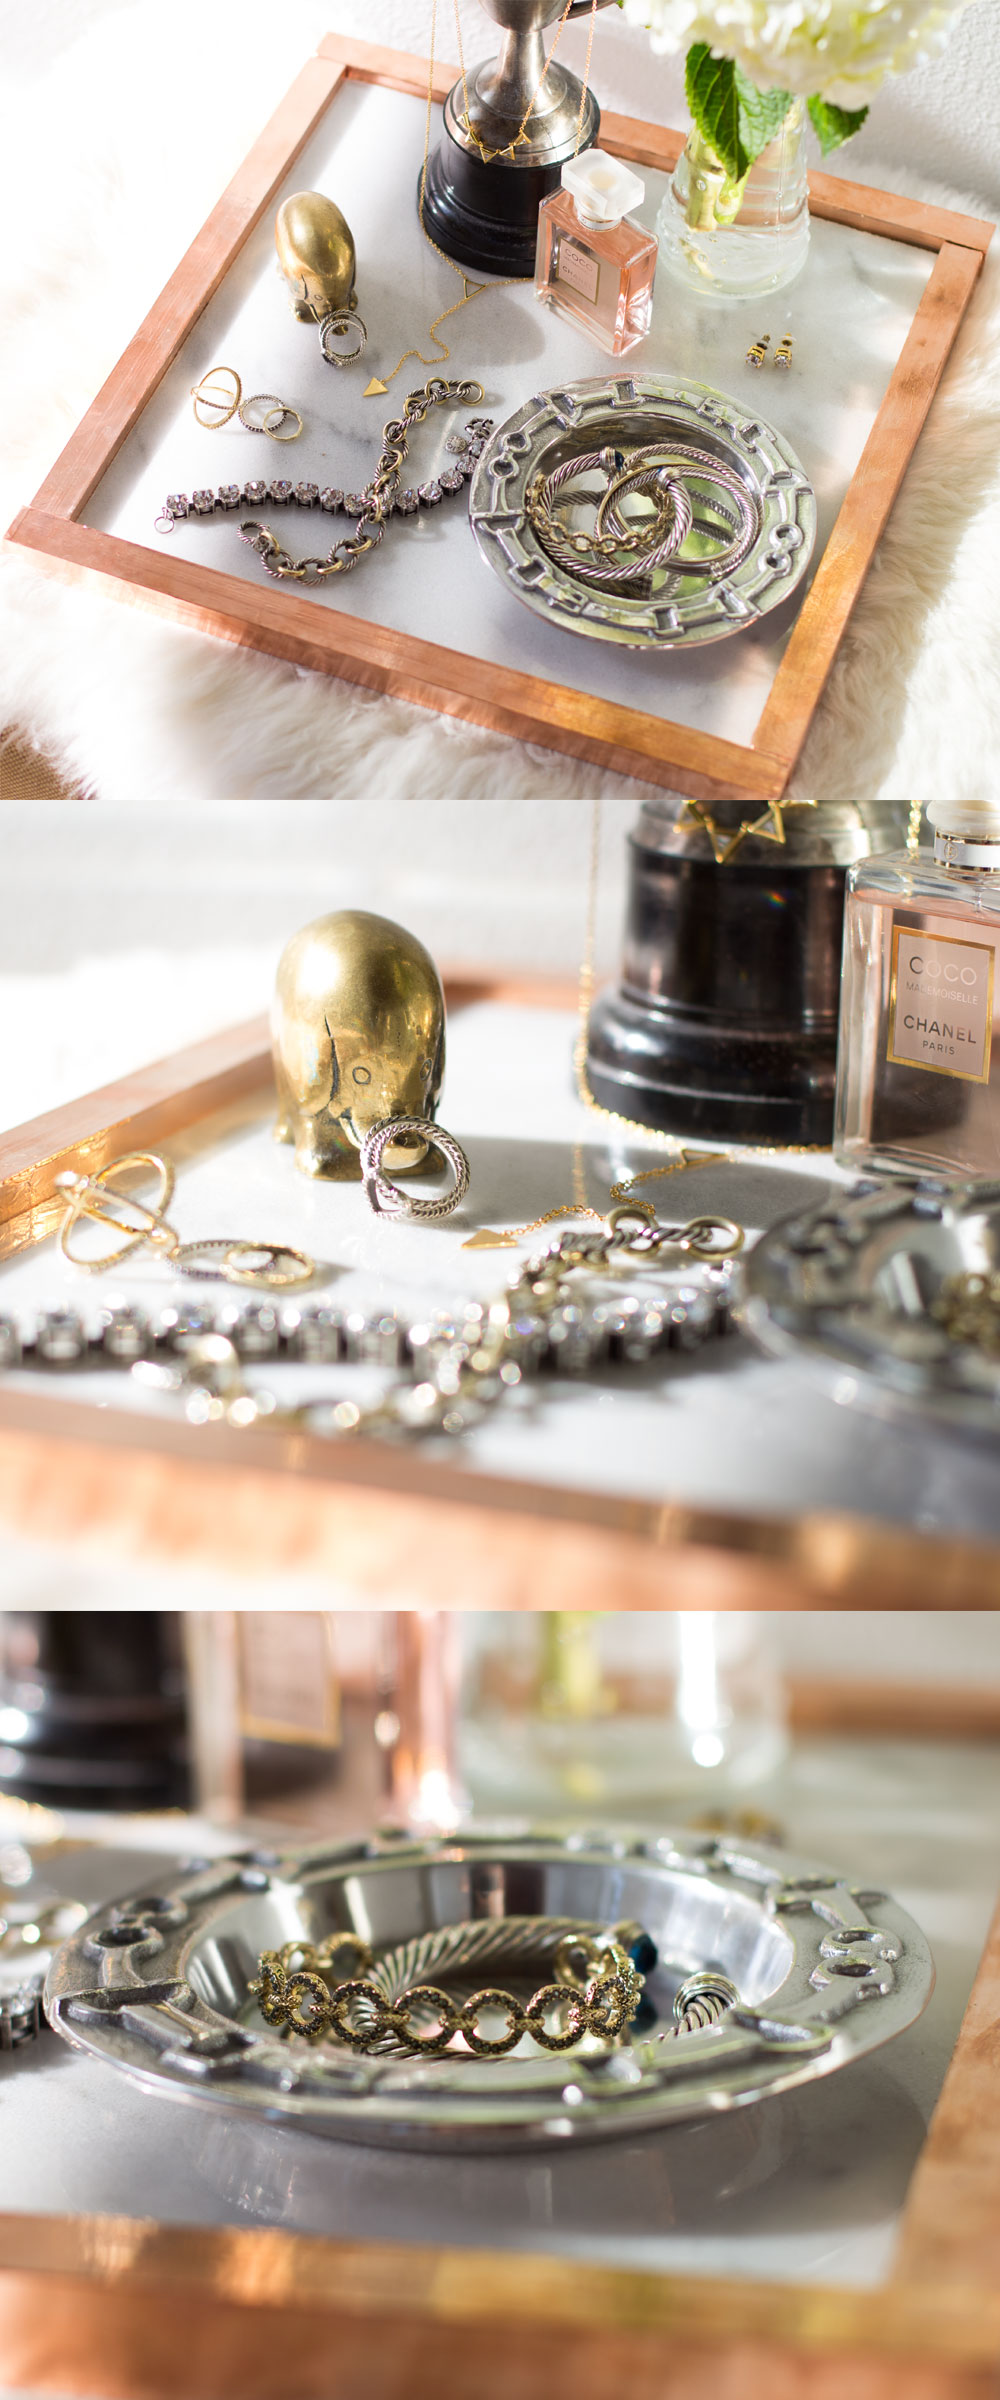
14. Add your jewelry and that's it! I love the way this looks with a fresh flower and used one of our vintage trophy cups as a necklace stand. The brass elephant ring holder is also antique, but Anthropologie has a really cute elephant trinket dish!

I hope you are inspired by today's DIY post and if you'd like to shop some of my jewelry favorites, I've linked them below! Thank you so much for stopping by today, y'all!
