In our formal living room there is so much wall space so we needed something that was really large. The only problem was that all of the abstract art I was finding was WAY out of our budget. When I stumbled on Josh Young Design House Instagram, I was enamored. But again, we couldn’t afford it. My mom who is an incredible artist was in town and encouraged me to try and create one of my own in colors and tones that fit our home. It turned out even better than I expected and cost under $200 to make. In today’s post I’m sharing all of the supplies I used and some tips if you’re wanting to give DIY abstract art a shot!


WHAT YOU’LL NEED //
Canvas (I used 30x48)
TIPS TO CREATE YOUR OWN ABSTRACT ART //
The first thing I did with both canvases was to paint the entire surface including the sides. I used a 3” paint brush and just tried to get it really smooth. After that dried, I added layers of texture. This takes the most time and patience as it takes each layer about a day to dry! For the texture, I mixed black paint with a gel medium that has a glossy finish so the texture stood out more. I dipped the sponge into the mixture and just blotted onto the canvas. I did this with the larger sponge first.
For the second layer of texture, I added some swashes just using a smaller sponge. I would press a big glob of paint down and gently slide the sponge over. For the third layer of texture, I used the same mixture but added some raw sienna paint. During dry times I put the gel/paint mixture in an empty pickle jar that had been washed out and left it in the refrigerator so it didn’t dry out.
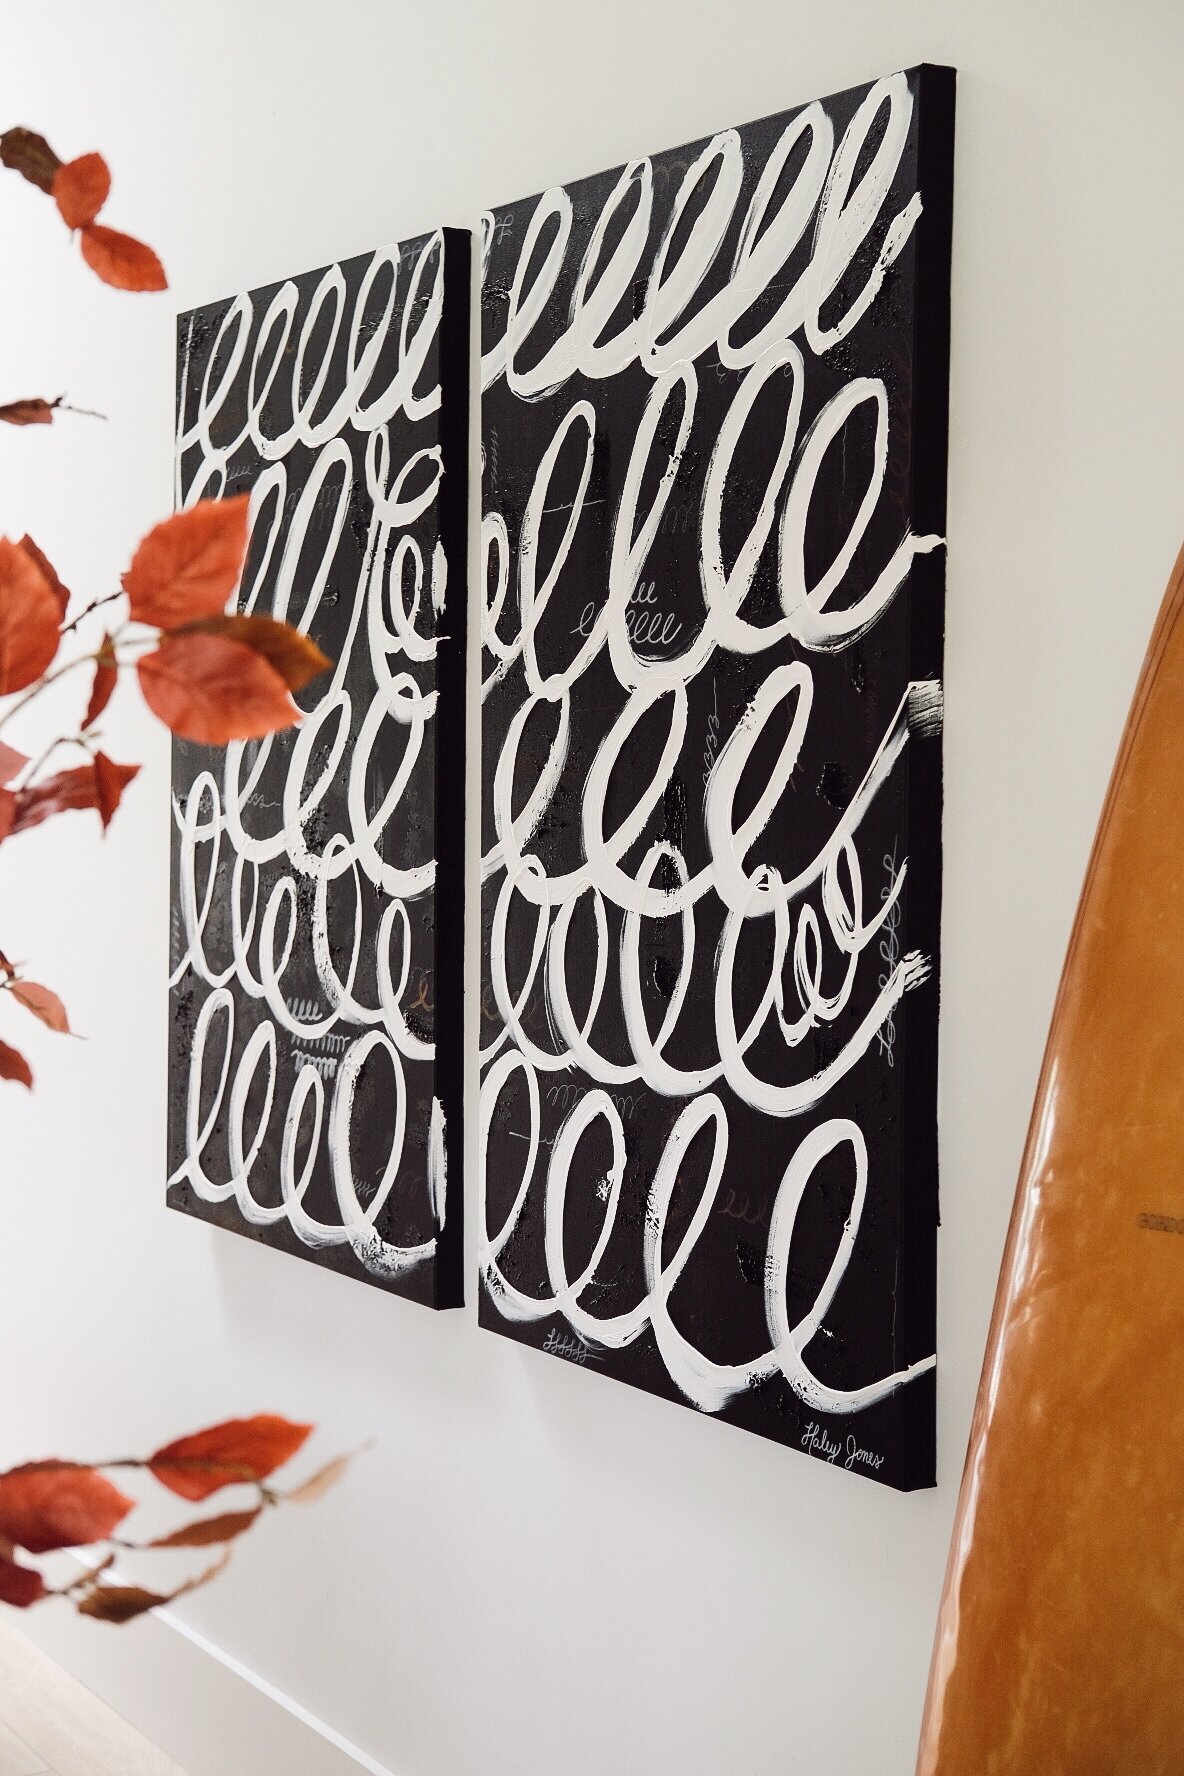
After all of the texturing was complete, it was time to add some small squiggles, lines, letters, etc. I wanted this painting to have meaning so it has hidden numbers and letters. There are 3’s for our wedding date that look like hearts, there are continuous cursive L’s for my mom, H’s for me, etc. I didn’t want to look super obvious that it was letters connected together so I practiced a lot on the paper I placed over my craft table. Most of the squiggles and letters were all done with the Chalkboard marker. To make it appear thicker, I put a paper towel over the marker for some of the loops. I also used the raw sienna paint to make some smaller loops as well.
For the large loops, I used 5 bottles of white paint. You have to have a really full bottle for it to squeeze out perfectly. I used small pieces of blue tape on each side of the canvas so that I could eyeball the spacing of the large loops and started with the loop in the center. After you put on the paint, use a large paintbrush to press the paint into the canvas. It adds so much texture and looks amazing!
After I was finished with the large loops, I hung my canvases on the wall but noticed a lot of the raw sienna got covered up. I used a small oil pastel to add in more raw sienna but this step isn’t necessary- just add more of your accent color in the beginning before painting the large loops!
Let me know if you have any questions, happy painting!
Xo,
Haley