For years I’ve been passionate about photography, but when I had a baby it took my love of taking photos to a whole new level. There’s something so special about capturing these moments that seem to pass by at lightning speed. Jett is growing up so fast and being able to look back on the photos I’ve taken of him since he was just a big 9 pound baby truly make my heart so happy. That’s why today I wanted to share some tips with you to take better photos of your baby so you too can have those special photos that you can look back on years from now (or while your baby sleeps-ha!)!


1. Invest in a quality camera.
This is kind of an obvious step, but investing in a good camera with a quality lens is key to taking great photos of your baby. 90% of the photos you see on my blog are shot with my Fujifilm X-T2 mirrorless camera. I got it 3 years ago and will never own another camera unless I upgrade to a new version. I LOVE this camera. It’s lightweight, it fits in most of my bags and it’s so easy to use. I learned how to shoot in manual using this camera after trying to learn on a Canon FOR YEARS! All of the setting you need are dials on the top and the front making it super easy to adjust depending on your light. There’s no fiddling with menus on the screen or any of that nonsense. It’s hands down the best camera I’ve ever owned!

2. Learn to shoot in manual.
Shooting in manual will take your photo quality to the next level. Shooting in manual isn’t easy and you won’t learn overnight, but trust me- once you learn your photos will be AMAZING! I’ve read a lot on shooting in manual, watched Youtube videos, and read e-books. The thing that helped me the most was just keeping my F stop the same for almost all shots until I learned how to adjust the ISO and the shutter speed. After I got that down, I was able to adjust all of the settings and get the shot I wanted! Since most baby photos are portraits where you want a blurred background, leaving the aperture at 2.0 usually works out with any shot. With my 35mm lens, most of my shots of Jett were shot with the F stop at 2.0 and I just adjust the shutter speed and the ISO according to the light. Now I have an even better lens that I got for Christmas and my portraits are next level. This 50mm lens is larger and more bulky than the 35mm, but the quality is unmatched!
3. Get on their level.
This simple step is a game changer when taking photos of your little one! Most of my favorite photos of Jett I was either laying on the ground or squatting down so the camera is at his level. It fills the frame with their squishy little body and looks amazing!
4. Shoot when the light is best.
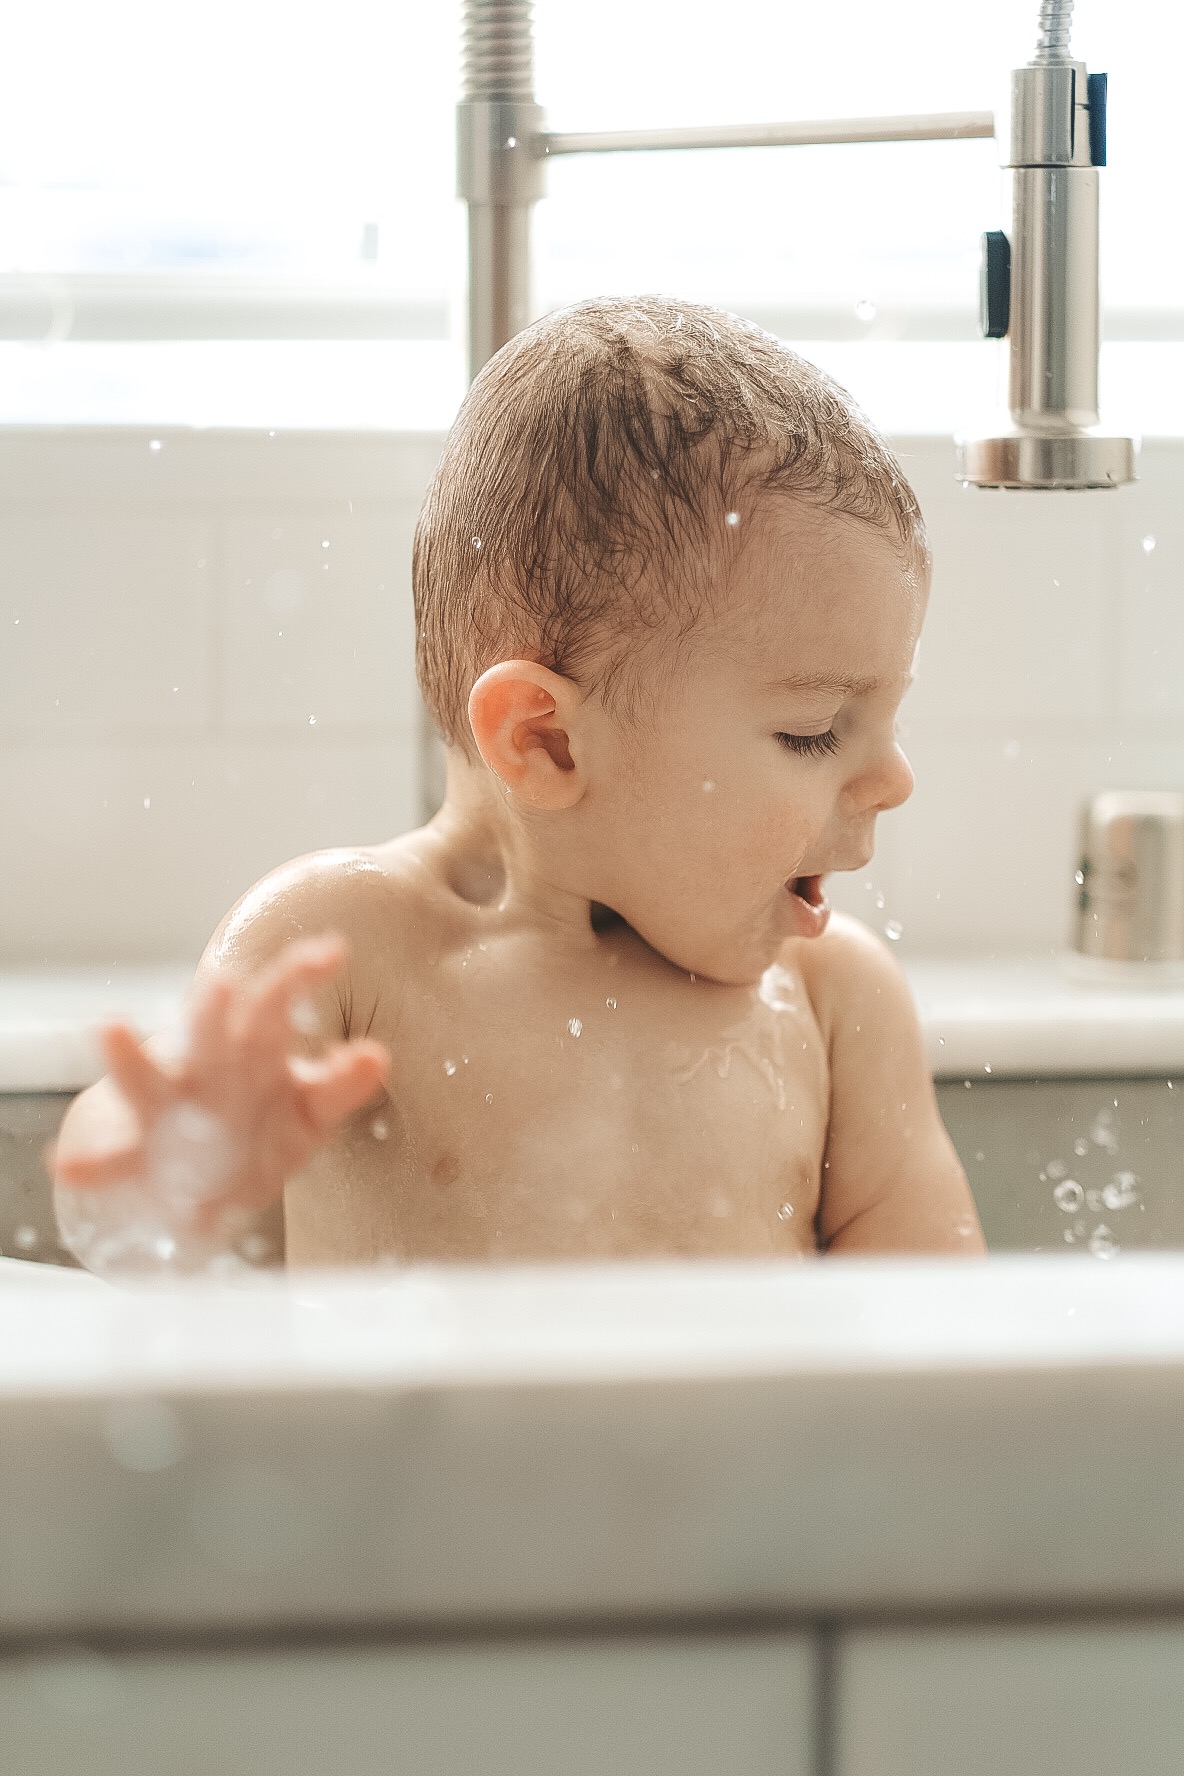
In the morning, the light in Jett’s nursery is divine. It’s bright and light bounces through the room and I can always shoot with an ISO of 200 which produces really nice, crisp photos. Later in the day when the sun is setting in our living room, it’s the same thing. Some of my favorite photos of him are in our living room in his walker or Skip Hop activity center. That’s one of the reasons I have a lot of bathtub photos of him as well. The morning light in our ktichen is bright but soft and it just makes photos look SO DANG GOOD! In your own home, just make note of the spots that have the best light and set up shots in those places when the time as right. I’ll sit Jett down in certain spots and give him a toy to play with so that he stays in that good light for long enough for me to get a good shot.
If you’re shooting outdoors, the best time is early in the morning or an hour before the sun sets aka golden hour. During the day you’ll get harsh shadows on their little faces unless you’re in a shaded area. If you do shoot during the day, shade is your friend! Light will bounce off of everything on a bright day and as long as your camera settings are right, you’ll get really great photos in the shade.
5. Shoot whenever they are happiest.
I never take photos of Jett right before he eats, or right after he’s woken up from a nap. I typically like to take photos of him after he’s been fed so he’s full, happy, and ready to play! If they’re sleepy, they’ll be grumpy and typically photos of them at this time won’t be the best.
6. Use a Lightroom preset.
I’m so glad Instagram has made Lightroom presets SO popular and SO affordable because they will MAJORLY improve your photos! Even if you aren’t shooting with a high quality camera and only have an iPhone, they’ll completely change the look of your photos. Currently I use Pilot Madeline “Maldives” Preset and love them! Sometimes skin tone can get a little crazy and too orange, but you just have to learn how to adjust that in the color settings.
7. Don’t rely solely on portrait mode if you’re using an iPhone.
Portrait mode on the iPhone is amazing, don’t get me wrong! But it does have a very slow shutter and it’s really hard to get in-focus photos of babies and toddlers. It often times blurs out part of your subject that you might not necessarily want to be blurry as well. If you’re using a Lightroom preset, you can edit regular iPhone photos and they’ll look amazing!
8. If they’re wearing a nice outfit, photograph it immediately!
Every time I’ve dressed Jett in a cute outfit, he’s guaranteed to spit up on it, slobber all over it, or we take it off for some reason (he gets hot easily). That’s why it is super important to photograph them immediately after putting on the outfit! If you want to take the photos after driving to your destination, just get them dressed in the back of the car so the outfit doesn’t get ruined on the way!
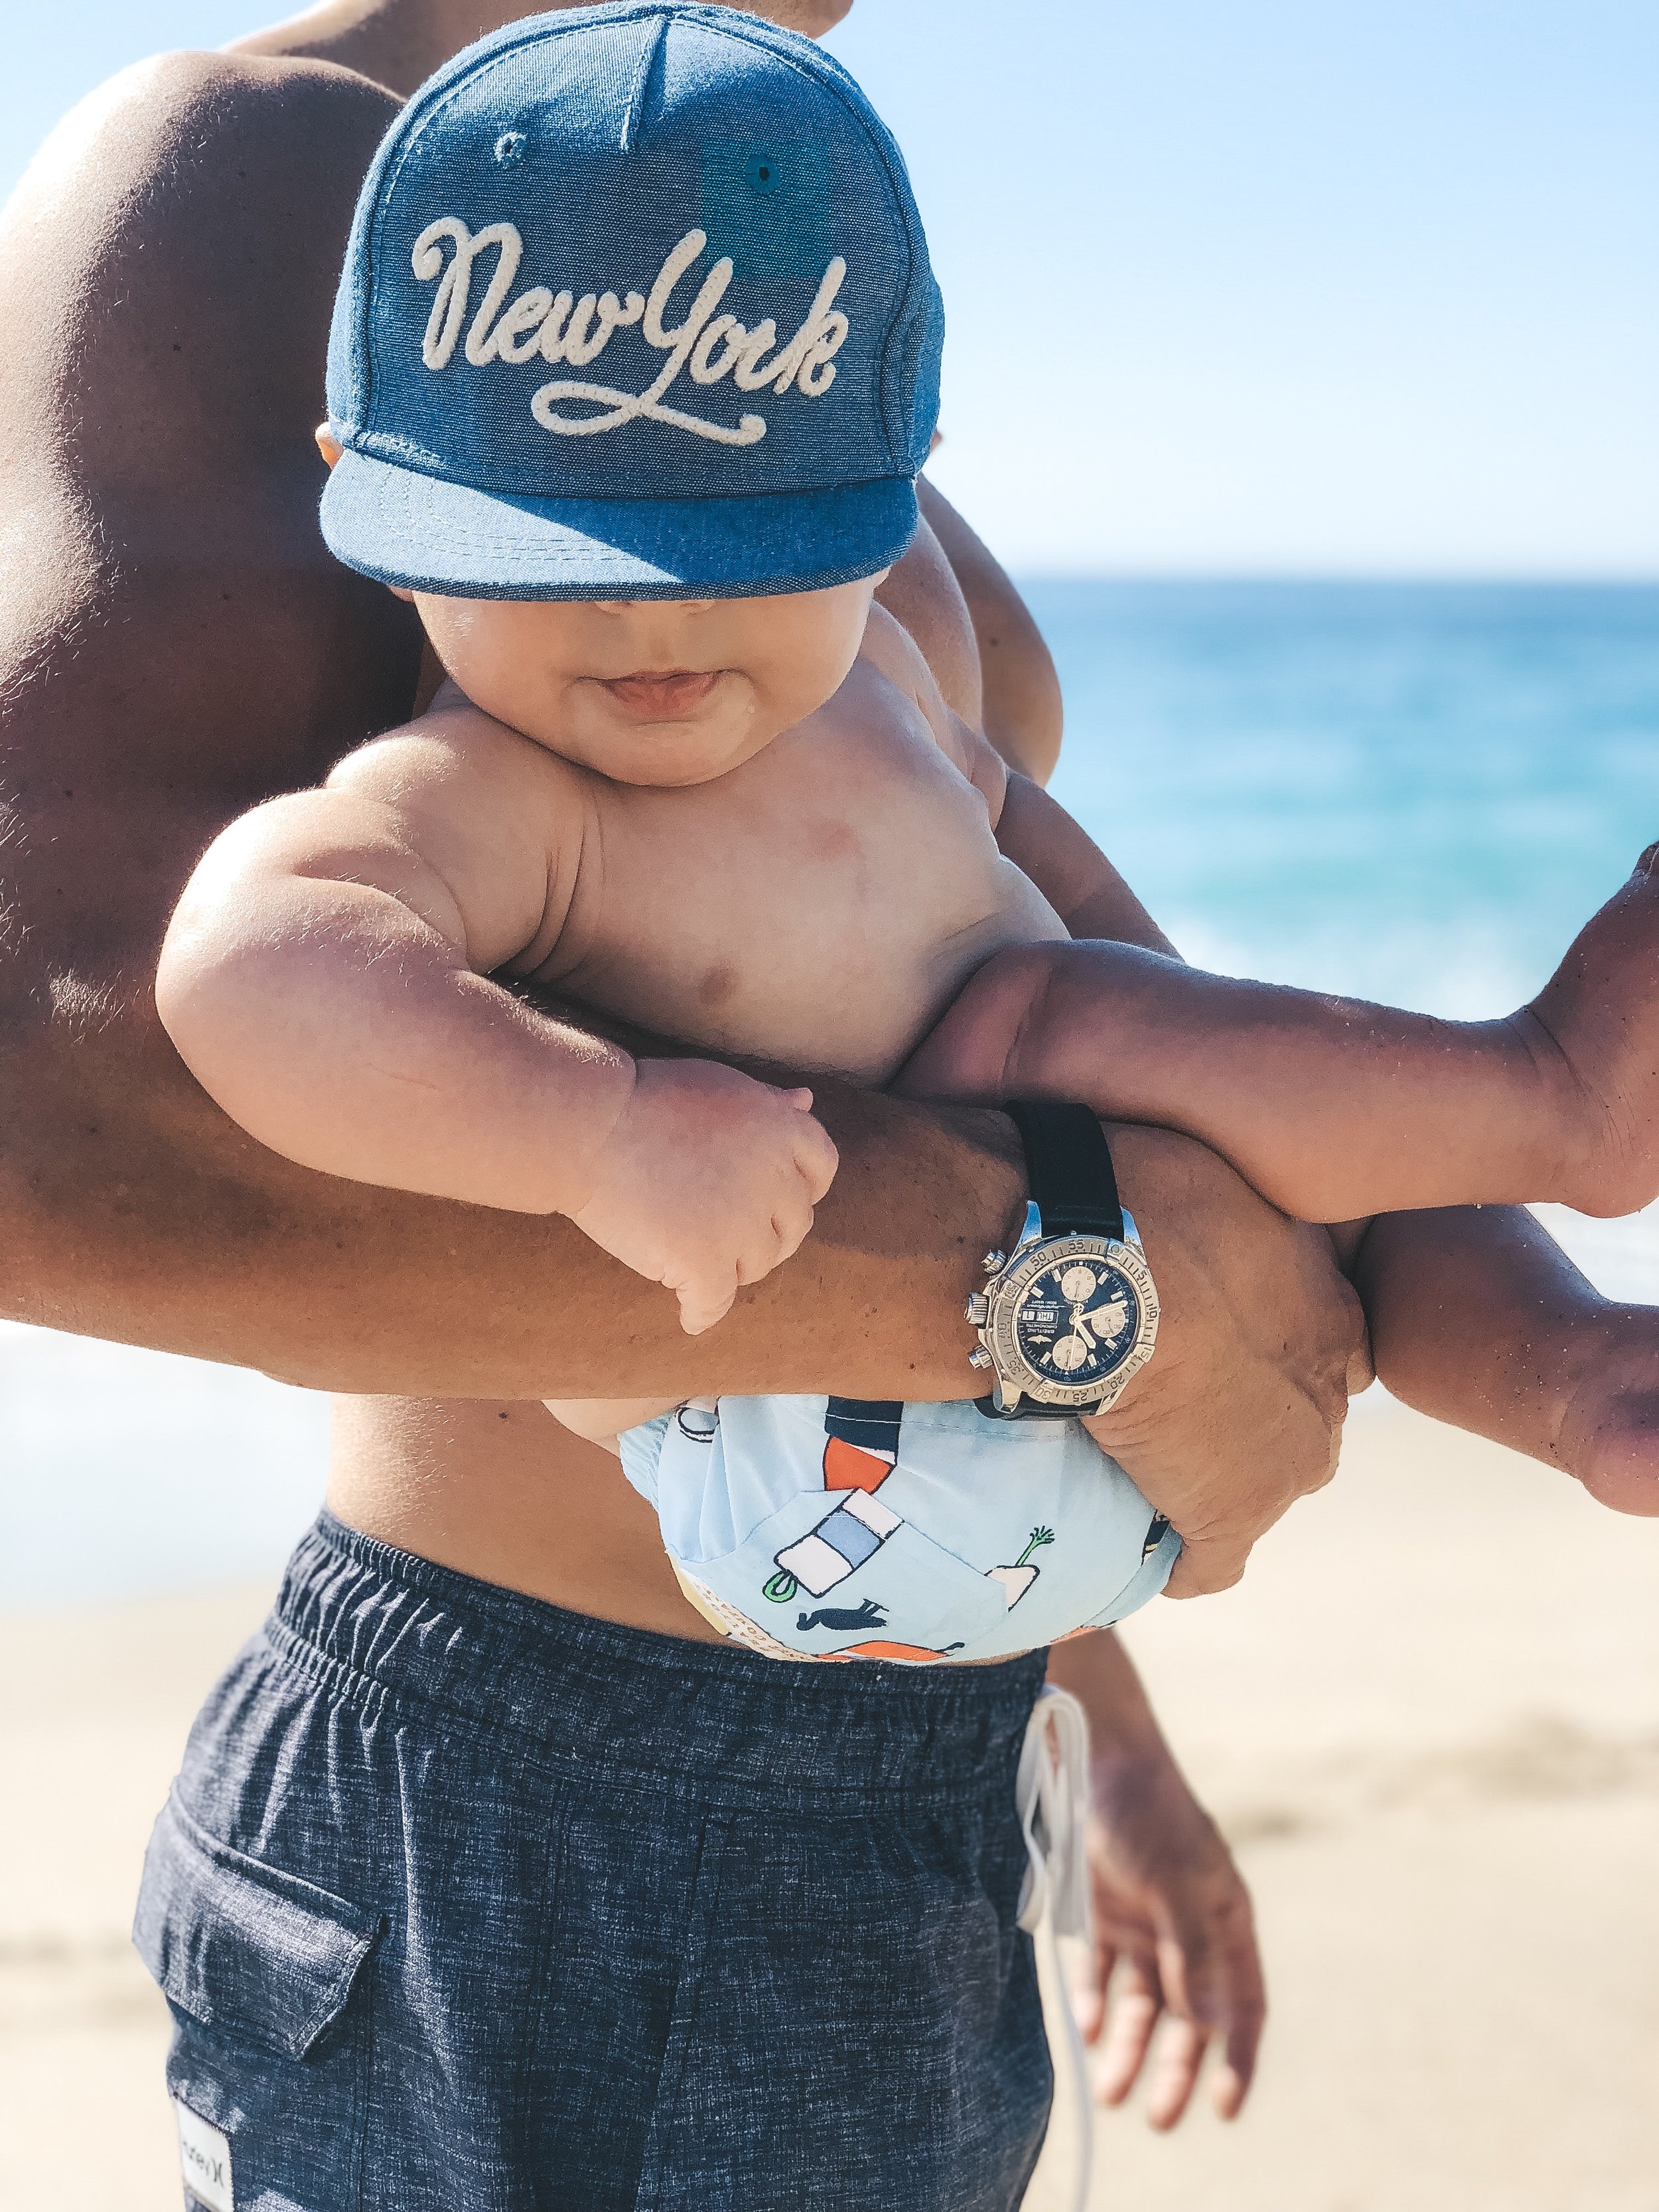
9. Photograph them in their element, don’t force it.
My favorite photos are of Jett just playing and having fun. I don’t ever force him to smile or do anything crazy. I just let him be himself and those photos capture that moment in time and make it last forever! If you put the baby somewhere they aren’t used to it might make them upset and then you for sure won’t get any good shots. So just let them be and talk to them to get some of their cute expressions on camera.
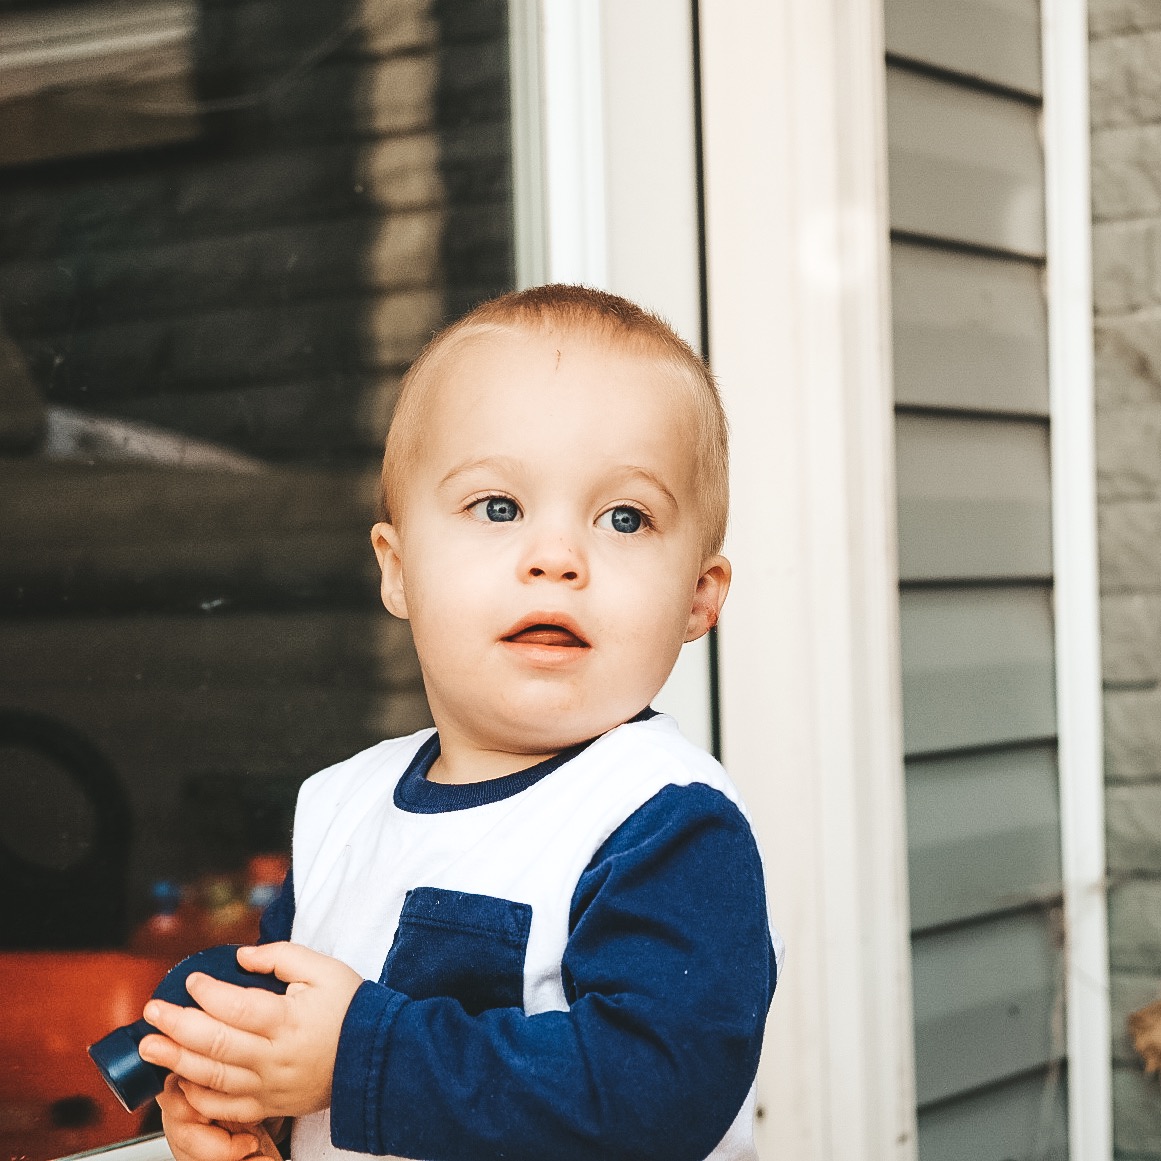
10. Set up the shot, grab their attention, and snap the photo(s)!
Almost every shot I have of Jett looking at the camera I’ve done this! He will be in his element like I talked about in the step above and I’ll get the settings right on my camera. Then I’ll get down low (tip #3), say his name really loud or make a squeal noise, and snap the photo right as he looks at me! Do whatever you do to make them smile, I usually make high pitched noises directed towards Jett and he always gets really excited so that works for us!
I hope you enjoyed reading these tips and they help you with your photography! If you have any questions, feel free to email me at haleyashtonjones@gmail.com! Have a wonderful weekend, friends!
Xo,
Haley